When it comes to maintaining a water heater, identifying issues with the heating element is a common challenge for many homeowners. Typically, a multimeter is used for this task, but not everyone has access to one or the expertise to use it. Fortunately, there are alternative methods to test a water heater element without a multimeter. These methods range from simple visual inspections to more practical approaches like testing with a continuity tester or swapping elements.
While these techniques can be effective, it’s crucial to remember that safety should always be your top priority, especially when dealing with electrical appliances. This guide provides an approach to help you how to test water heater element without Multimeter.
1. Visual Inspection
Power Off for Safety:
– Before commencing any work, it’s imperative to ensure your safety. Turn off the power supply to the water heater at the circuit breaker or fuse box. This is a non-negotiable step as it eliminates the risk of electric shock.
– Double-check to make sure the power is indeed off. You can do this by trying to turn on the hot water tap and seeing if the unit responds. No response typically indicates the power is successfully cut off.
Access the Element:
– Accessing the heating element requires you to remove the access panel on the water heater. This panel is generally located on the side of the unit. You will likely need a standard screwdriver to remove it.
– After removing the screws, you may encounter insulation that needs to be carefully pulled back to reveal the element. In some models, a protective cover might be present over the element, which needs to be removed.
– Remember to keep all screws and covers in a safe place for reassembly later.
Inspect for Damage:
– Once you have access to the element, conduct a thorough visual examination. Look for any obvious signs of wear or damage.
Blistering and Cracking:
These are tell-tale signs of overheating and material failure. They often indicate that the element has been compromised and is no longer functioning correctly.
Severe Discoloration:
Discoloration can occur from overheating or prolonged use and is a sign that the element may be nearing the end of its lifespan.
Melting or Deformation:
Any signs of melting or changes in the shape of the element are serious and indicate immediate replacement is necessary.
Mineral Buildup:
In areas with hard water, mineral deposits can accumulate on the elements. These deposits can insulate the element, reducing its efficiency and eventually leading to overheating and failure. Sometimes, if the buildup is not too severe, cleaning the element can restore its functionality.
2. Testing with a Continuity Tester
Acquire a Continuity Tester:
– A continuity tester is a simple tool used to check if an electrical path can be established in a circuit — essentially testing if a circuit is complete or broken.
– You can purchase a continuity tester at most hardware stores. They are generally affordable and easy to use, making them a good alternative to multimeters for basic testing.
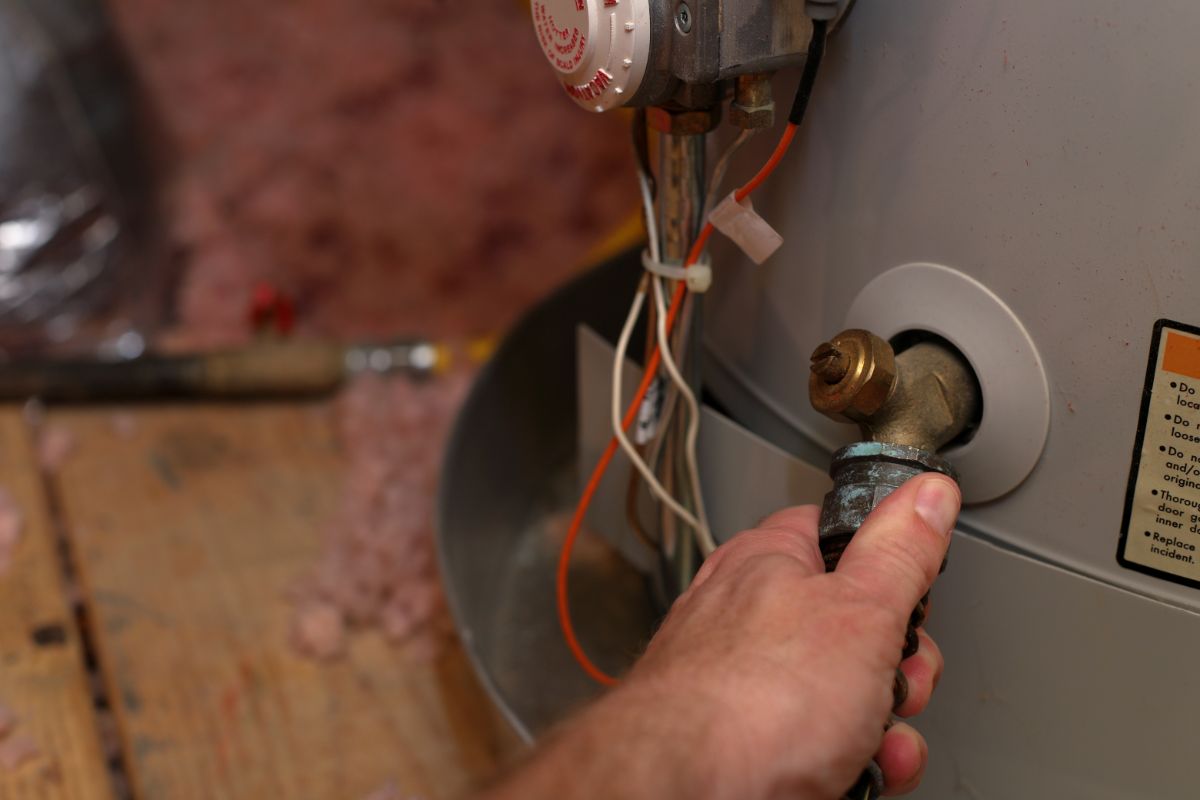
Test the Element:
– Before testing, ensure the element is completely disconnected from the water heater’s wiring. This usually involves loosening screws or terminals that hold the electrical wires in place.
– Attach the clip of the tester to one terminal of the element. Then, touch the tester’s probe to the other terminal of the element.
– Ensure the area around the element is dry to prevent any risk of electric shock.
Observation:
– Perform the continuity test by observing the response of the tester. If the tester has a light, it should illuminate if the element has continuity. If the tester has a buzzer, it should sound.
– If there is no light or sound from the tester, it indicates a break in the circuit within the element. This is a clear indication that the element is faulty and needs to be replaced.
– It’s important to note that while a continuity test can indicate whether an electrical path is present, it doesn’t measure the element’s resistance or its ability to heat effectively. Therefore, even if continuity is present, the element might still be malfunctioning due to other issues like a partial break or severe mineral buildup.
3. Resetting the Thermostat
The issue with Thermostat:
– Not all heating problems are due to a faulty element; sometimes, the thermostat is the culprit. The thermostat controls the temperature of the water by regulating the power supplied to the heating element. A tripped or malfunctioning thermostat can prevent the element from receiving power and heating the water.
– Signs that the problem might be with the thermostat include the water being too cold, despite the heater being powered, or the water temperature fluctuating unpredictably.
Locate and Reset:
– The first step is to locate the thermostat’s reset button. This is typically a small red button located on the thermostat itself. The thermostat is generally found behind the same access panel as the heating element.
– Before attempting to reset the thermostat, ensure that the power to the water heater is turned off for safety. Then, press the reset button firmly. You might hear a click sound, indicating the reset is successful.
– After resetting, restore power to the unit and check if the water heater resumes normal operation. It’s advisable to monitor the water temperature for the next few hours to ensure the issue has been resolved.
– If the reset button trips again or if resetting doesn’t solve the problem, this may indicate a deeper issue with the thermostat or other components of the water heater.
4. Swapping Elements
Dual-Element Water Heaters:
– Many modern water heaters have two elements – an upper and a lower one. If you are experiencing issues and your water heater has dual elements, swapping them can help determine if the issue is with the elements themselves.
– The logic behind this method is straightforward: if the problem follows the element when swapped to a different position, the element is likely at fault.
Swap Carefully:
– Begin by turning off all power to the heater to ensure safety. It’s also advisable to turn off the water supply to the heater to prevent any accidental water spillage or damage.
– Carefully remove the elements from their positions. This usually involves disconnecting electrical connections and unscrewing the elements themselves. Be sure to note which element came from which position for accurate testing.
– Swap the positions of the elements, then securely reattach them, ensuring all connections are made correctly.
– Restore power (and the water supply, if it was turned off) to the heater. Observe the heater’s operation over the next few hours. If the part of the heater that was not functioning correctly starts working, and the previously functional part stops working, it is a clear indication that the element is faulty and needs replacement.
– It’s important to handle the elements carefully as they can be delicate and prone to damage. Also, ensure that all connections are secure and there are no leaks when the water supply is turned back on.
5. Check for Power Supply Issues
Circuit Breaker:
– The first step in addressing power supply issues is to inspect the circuit breaker. The circuit breaker dedicated to the water heater can sometimes trip, cutting off power to the unit.
– Locate your home’s electrical panel and identify the breaker for the water heater. If it’s in the “Off” position or midway between “On” and “Off,” it has likely tripped. This can occur due to power surges, overloading, or internal faults in the heater.
– Reset the breaker by turning it to the “Off” position and then back to “On.” If it trips again shortly after resetting, this could indicate a more serious electrical issue that needs professional attention.
Power Supply:
– The water heater should receive a consistent and adequate power supply to function correctly. If the voltage is too low or fluctuates, it can affect the heating efficiency.
– If you have a voltage tester or multimeter and know how to use it safely, you can check the voltage at the heater’s power supply line. Ensure the voltage matches the specifications for your water heater (usually labeled on the unit).
– Be aware that working with live electrical circuits can be dangerous. If you are not experienced or comfortable doing this, it’s best to seek professional help.
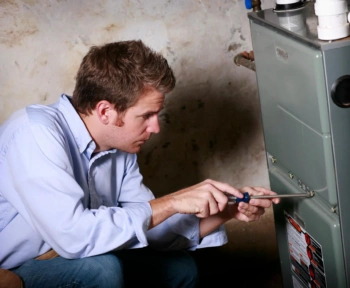
6. Hire a Professional
Seek Expertise:
– Water heaters, especially those involving both electricity and plumbing, can be complex and potentially dangerous to work on. If you have followed the above steps and the problem persists, it is time to call a professional.
– A qualified technician can safely diagnose and repair issues that go beyond basic troubleshooting, such as internal wiring faults, thermostat failures, or tank damage.
– Ensure that you choose a licensed and experienced professional for reliable and safe service.
Safety Tips
Power Safety:
– Always disconnect the power supply before starting any work on the water heater. This is crucial to prevent electric shock and other electrical hazards.
– After completing your work, ensure the power is turned back on properly to allow the water heater to function.
Water Caution:
– Be cautious of hot water and steam, which can cause serious burns. Allow the water in the tank to cool down before performing any repairs or inspections.
– When draining or working on the water heater, ensure there is a safe path for the water to exit without causing damage or injury.
Electrical Safety:
– When working with electrical components, it’s essential to use tools with insulated handles to reduce the risk of electric shock.
– Wear rubber-soled shoes to provide additional insulation and stability, especially in areas that might be damp or wet.
– If you’re unsure about the safety of any procedure, refrain from attempting it and consult a professional.
Conclusion
Troubleshooting a water heater element without a multimeter can be a bit of a challenge, but by following the steps outlined above, you can effectively diagnose and address common issues. These methods include conducting a thorough visual inspection, using a continuity tester, resetting the thermostat, swapping elements, and checking for power supply issues. While these approaches are helpful for basic troubleshooting, it’s important to recognize the limits of DIY repairs. If the problem persists after these steps, or if you’re unsure about any part of the process, it’s wise to seek the assistance of a professional. Remember, safety is paramount when working with electrical appliances, and taking the right precautions can prevent accidents and ensure a properly functioning water heater.