
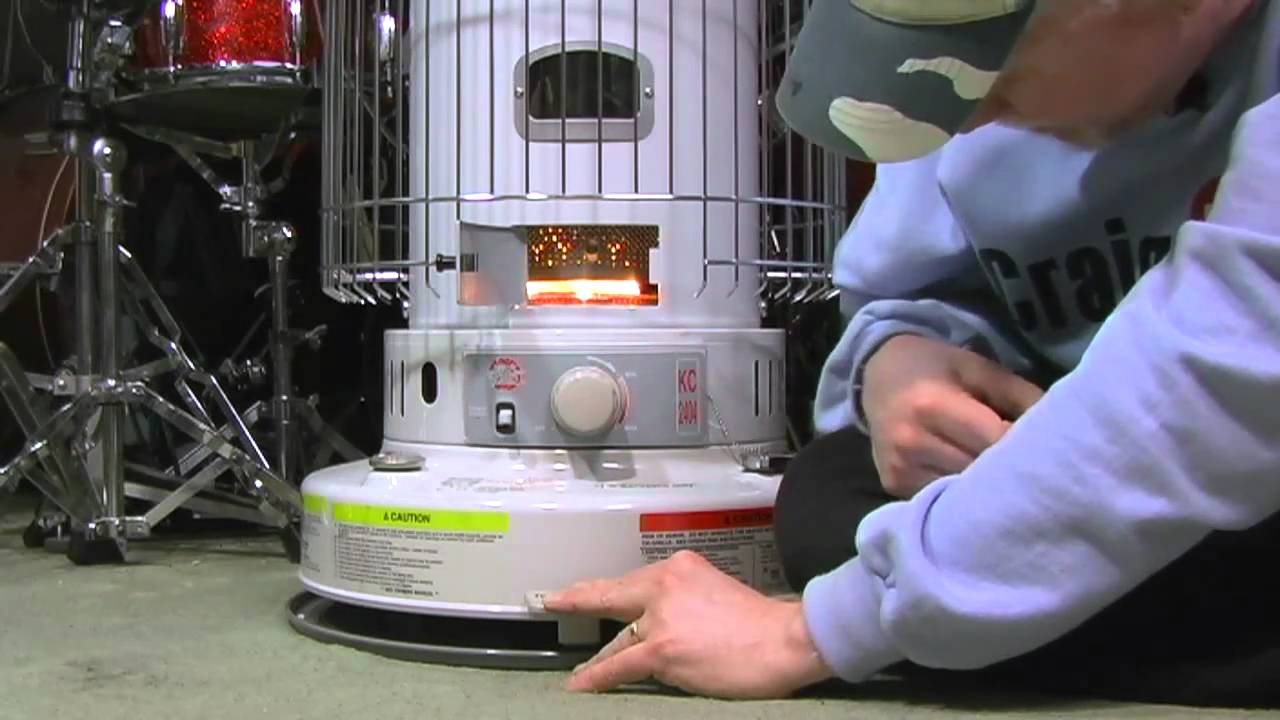
The length of time a wick in a kerosene heater may last is determined by a variety of attributes, such as the kind of heater you have and how frequently you use it.
According to the United States Consumer Product Safety Commission, the United States Environmental Protection Agency, and the American Lung Association, wicks should be checked and replaced once a year. If you use poor fuel or use the heater on a reduced level, you should inspect and change wicks more frequently.
For your security, tar/carbon-coated wicks, deteriorated wicks, wicks from the previous season, and incorrectly utilized wicks should all be changed.
Changing a Wick in a Kerosene Heater
Dry out your heater
Before changing the wick in a kerosene heater, you’ll have to empty the tank of all existing fuel, which you could do by dry-burning. Because hazardous fumes and bad odors are typically released during dry burning, it’s better to perform it outside or in a ventilated location.
Allow your heater to run out once you’re outside. This method may also be used to repair heater wicks, so even when you’re not planning on replacing a wick, you can use that to eliminate residues from the wick on a regular basis. After your wick is empty, turn off the heater and let it cool fully before working with it.
Begin dismantling your heater.
Removing the tank can be done once it has totally cooled. At this point, you must also detach the batteries and the wick adjuster. This is an easy procedure since they will pull right out. After that, locate and uncover the grill on the heater’s front. You will find the catalytic converter there, and it must be removed as well.
Take extreme caution when extracting the converter. The glass chimney on this can shatter or break if handled poorly.
After that, get a screwdriver and begin the following dismantling process:
- Remove the screws that keep the heater’s frame in place. The cabinet may then be pulled away from the wall.
- You will find a windshield that you need to remove set aside.
- By disassembling the nuts keeping the wick base in position, you may now detach it. After that, the unit may be removed right off.
- You may now carefully take out the wick while making sure you note the old wick’s position. It will make your work easier in the future.
Putting in the New Wick
To begin, check your new wick against the line you put on the container. This mark should typically fit your replacement wick
Fold the replacement wick in half to connect it, then place it into the holder at the same depth as the line you created. When you’re happy with the depth, let go of the wick and let it return to its original shape.
Putting Your Heater Back Together
After you’ve secured your replacement wick, you may begin rearranging your heater. Begin with the wick adjustment knob since you’ll have to verify that the wick is functioning smoothly. Move the wick entirely down and up as a test. You may now install and adjust the nuts for the assembly unit when you’re happy.
Then it is simply a matter of reinserting whatever you took out in the previous stages — in the opposite order.
FAQ about Wick in a Kerosene Heater
How do you tell if the wick in a kerosene heater is bad?
It may be worth replacing or dry burn the wick if it is really filthy. When you’re using a wick for a while or when you use red kerosene, the wick will acquire coatings of hard or black substance.
What’s the best way to light a kerosene wick?
Empty the entire tank of kerosene fuel. Ignite the wick once it has reached its maximum length. Allow the soaked wick to burn until it extinguishes. The tar formations should be burned away as a result of this.
Conclusion
You’ll never have to worry about changing a wick in a kerosene heater again now that you know how. If you’re not sure how to proceed, have a friend or relative assist you. If you believe you are unable to do the task, there is no shame in hiring a professional to complete it for you!

